
In this page
Collapsed mode
Expanded mode
View the content analytics
Views tab
Updates tab
View the status details
Status tab
CQL fields tab
Support info tab
What is the Content Status Indicator?
The Content Status Indicator displays the current status of a page or blog post. You can find it under the content title when viewing the page or blog post.
The two modes of the Content Status Indicator, explained in the next sections, show increasing levels of detail about the content.
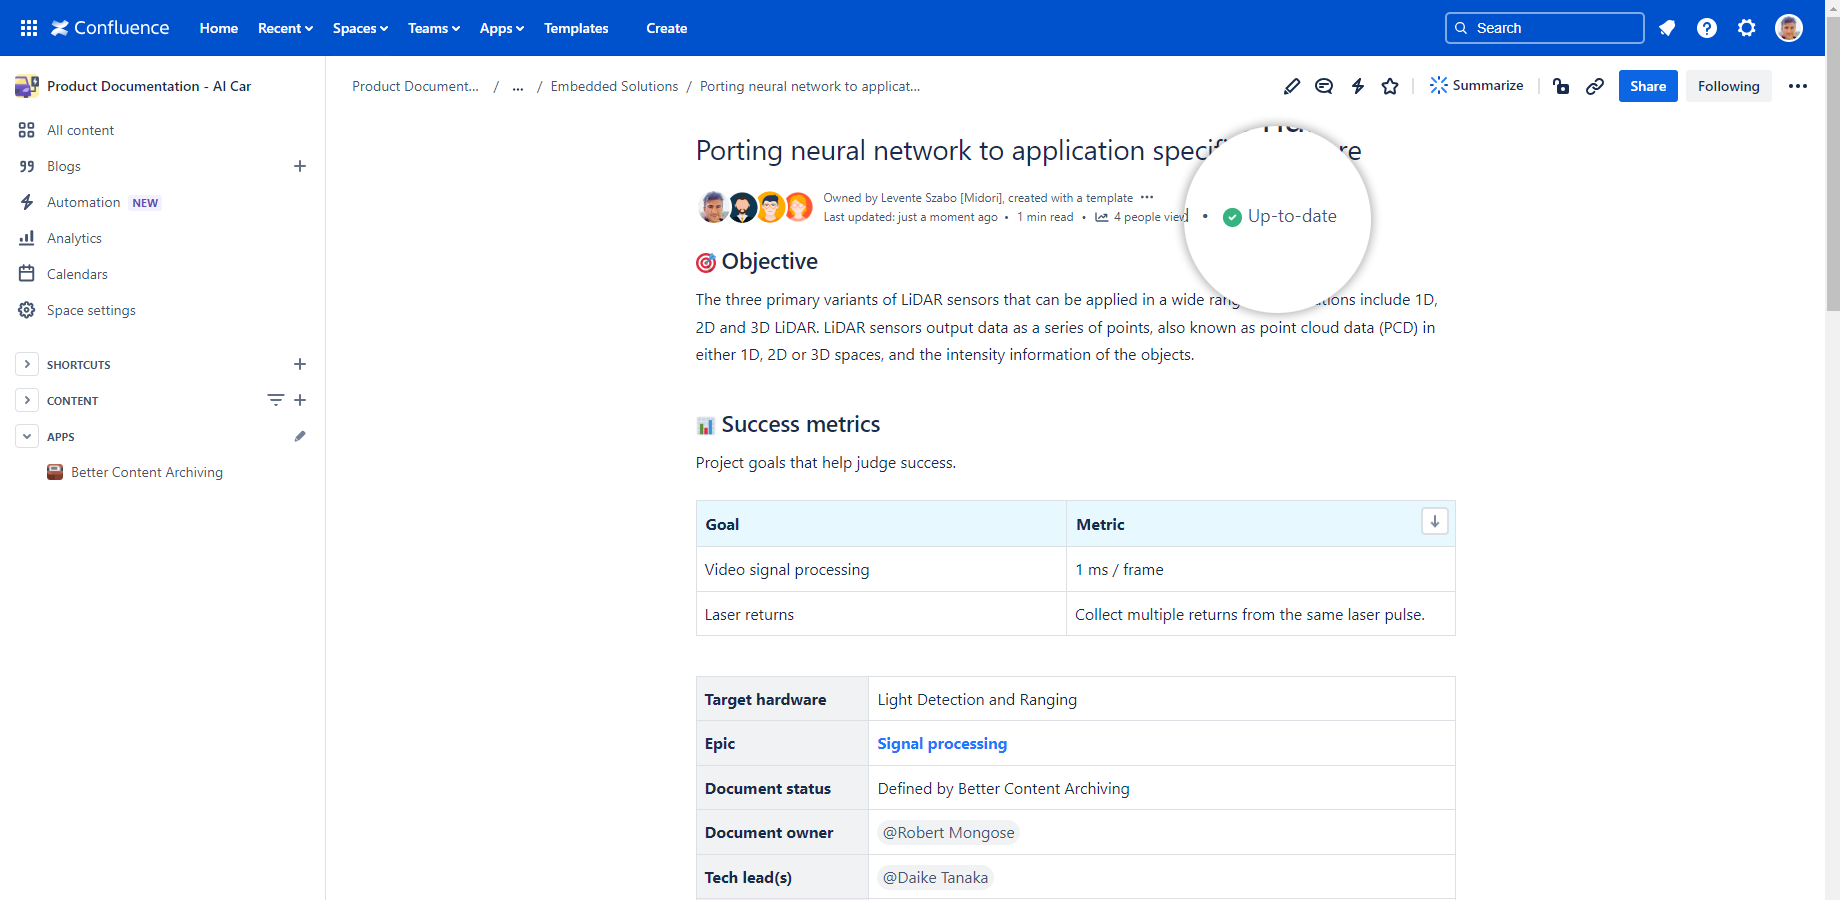
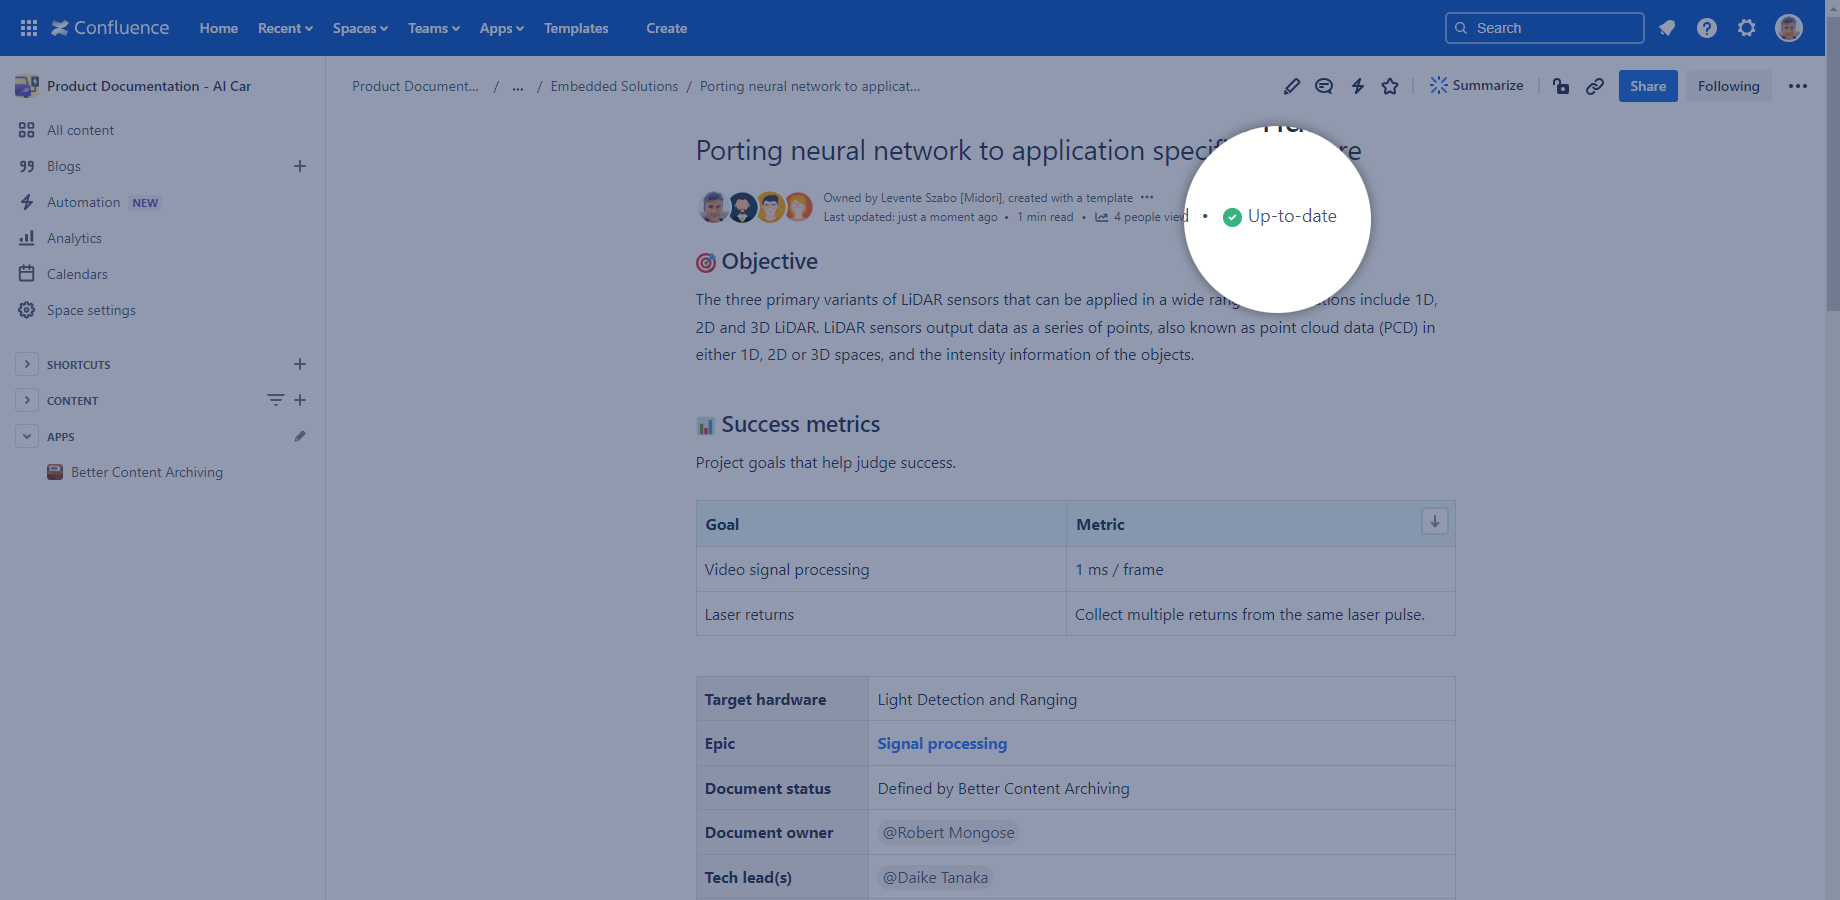
Collapsed mode
This is the default mode when viewing a page or blog post.
In collapsed mode, the Content Status Indicator displays only the current status with its icon and name. By hovering the mouse over the icon, the status description and the time of the last status refresh will be shown in a tooltip.
Even without manually refreshing content statuses, the Refresh content statuses job will periodically refresh the status of all contents on your site.
Expanded mode
You can open this mode by clicking the status icon.
In expanded mode, the Content Status Indicator displays the following details:
- content status (also known as page status or blog post status)
- content owners (if they are set or inherited)
- expiration date (if it is set or inherited)
- archiving date (if it is set or inherited)
- last view (who and when)
- last update (who and when)
You can conveniently access the quick actions from this context. You can access the quick actions by clicking the buttons that appear when you move the mouse over the values that correspond to them.
Notes:
- When opening the expanded mode, it will display the current status, which may occasionally be outdated at this point. In order to display the most current status information, a status refresh will be automatically started and the popup will be updated in a few seconds.
-
If the app does not have access to the content (due to missing space permissions or content restrictions), then the Content Status Indicator displays a clickable "Cannot refresh" message in the popup, and all quick actions except content view/update analytics are disabled.
Clicking the "Cannot refresh" message reveals the detailed cause.
If you have permission to fix the problem, the popup will also display a Grant access button that lets you resolve it with a few clicks.
Learn more on the Access control page.
View the content analytics
You can open this dialog by clicking the "Content view analytics" or "Content update analytics" buttons that appear when you hover the mouse over the "Last view" or "Last update" values in the Content Status Indicator.
Views tab
All view events that were tracked by the app are listed here. On the right, the Insights panel displays some aggregated information about views. Select a period from the dropdown for calculating those numbers.
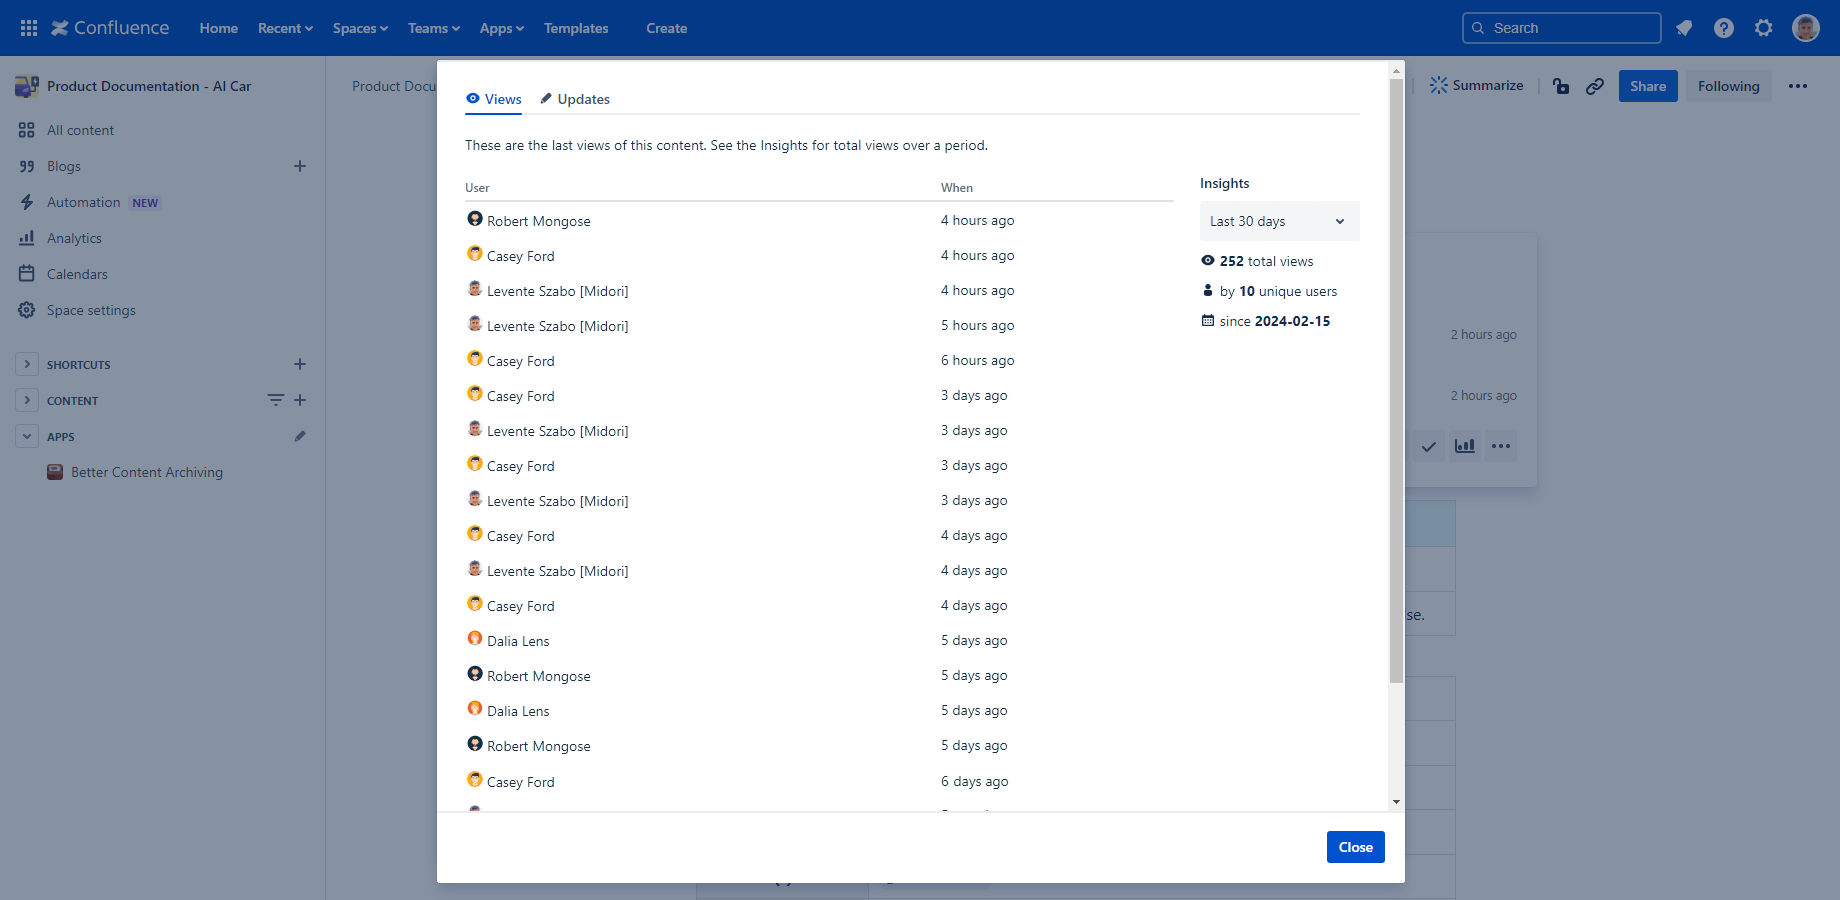
Note that the selection of the period does not affect the content view table data, so no filtering will be applied. It only updates the Insights panel.
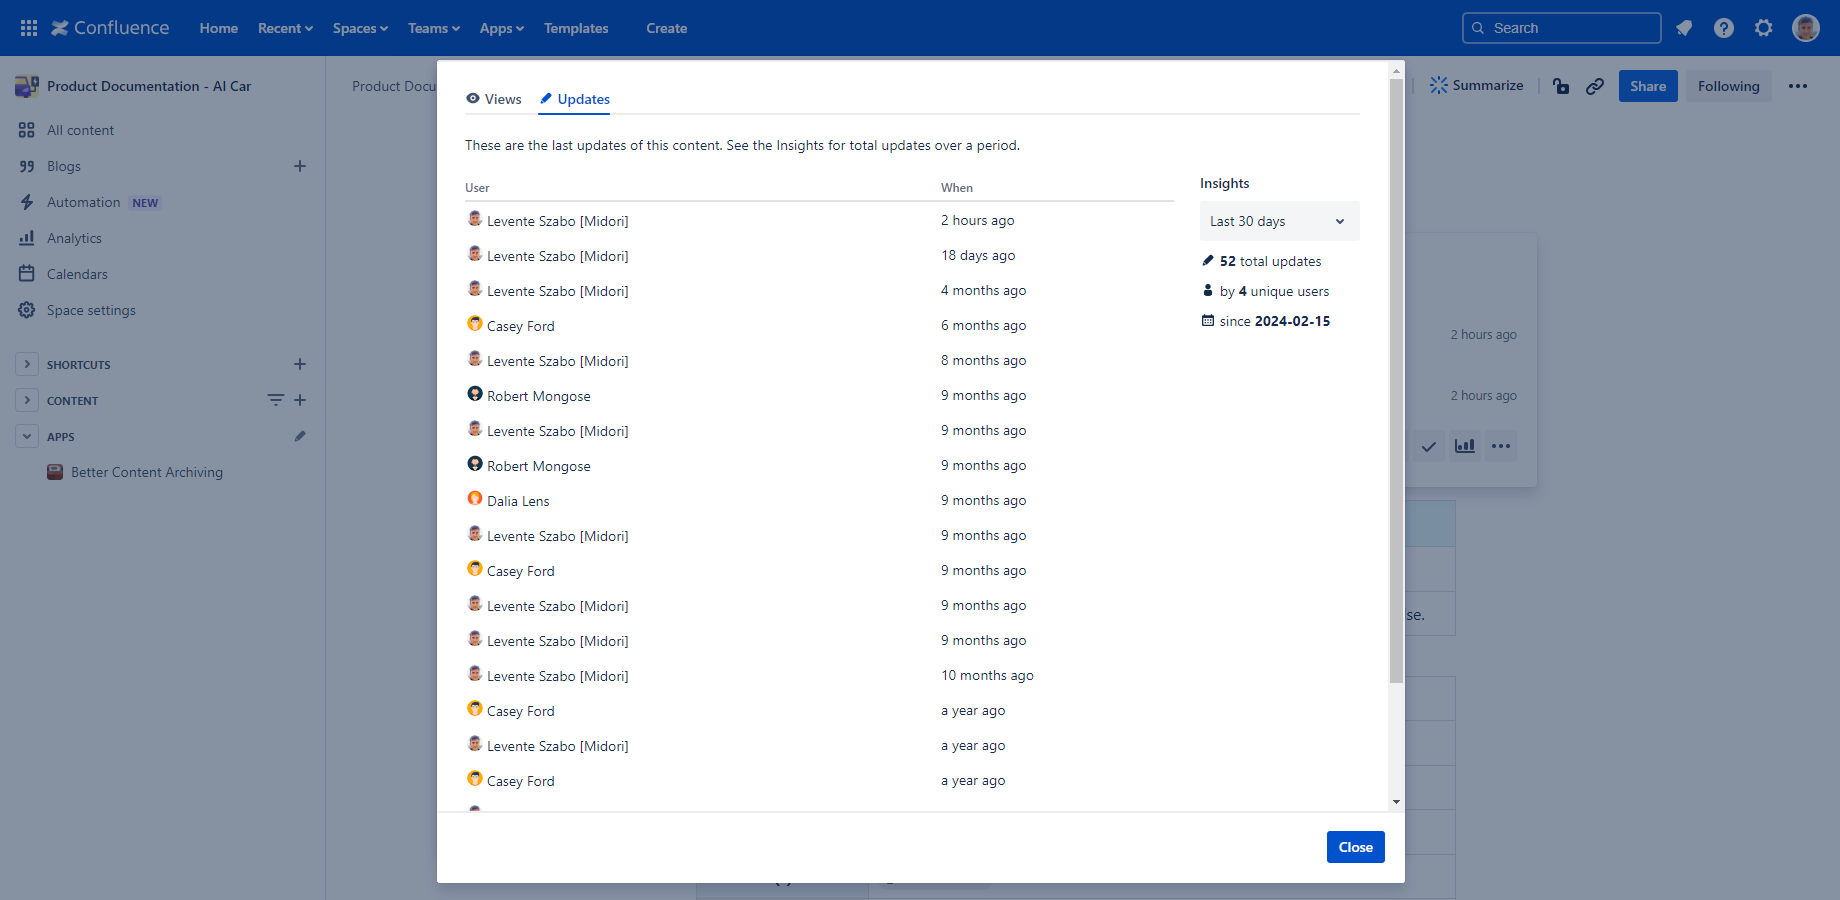
Updates tab
This tab provides the same functionality as the Views tab, but for content updates.
View the status details
You can open this dialog by clicking the "Status details" menu item in the "..." menu in expanded mode.
A dialog shows separate tabs for different aspects of the content status.
Status tab
This tab explains why the content is in the current status. There are some basic information about the actual space and the assigned content status scheme. Below that, each status of the assigned content status scheme are listed (in the same order as defined in the scheme).
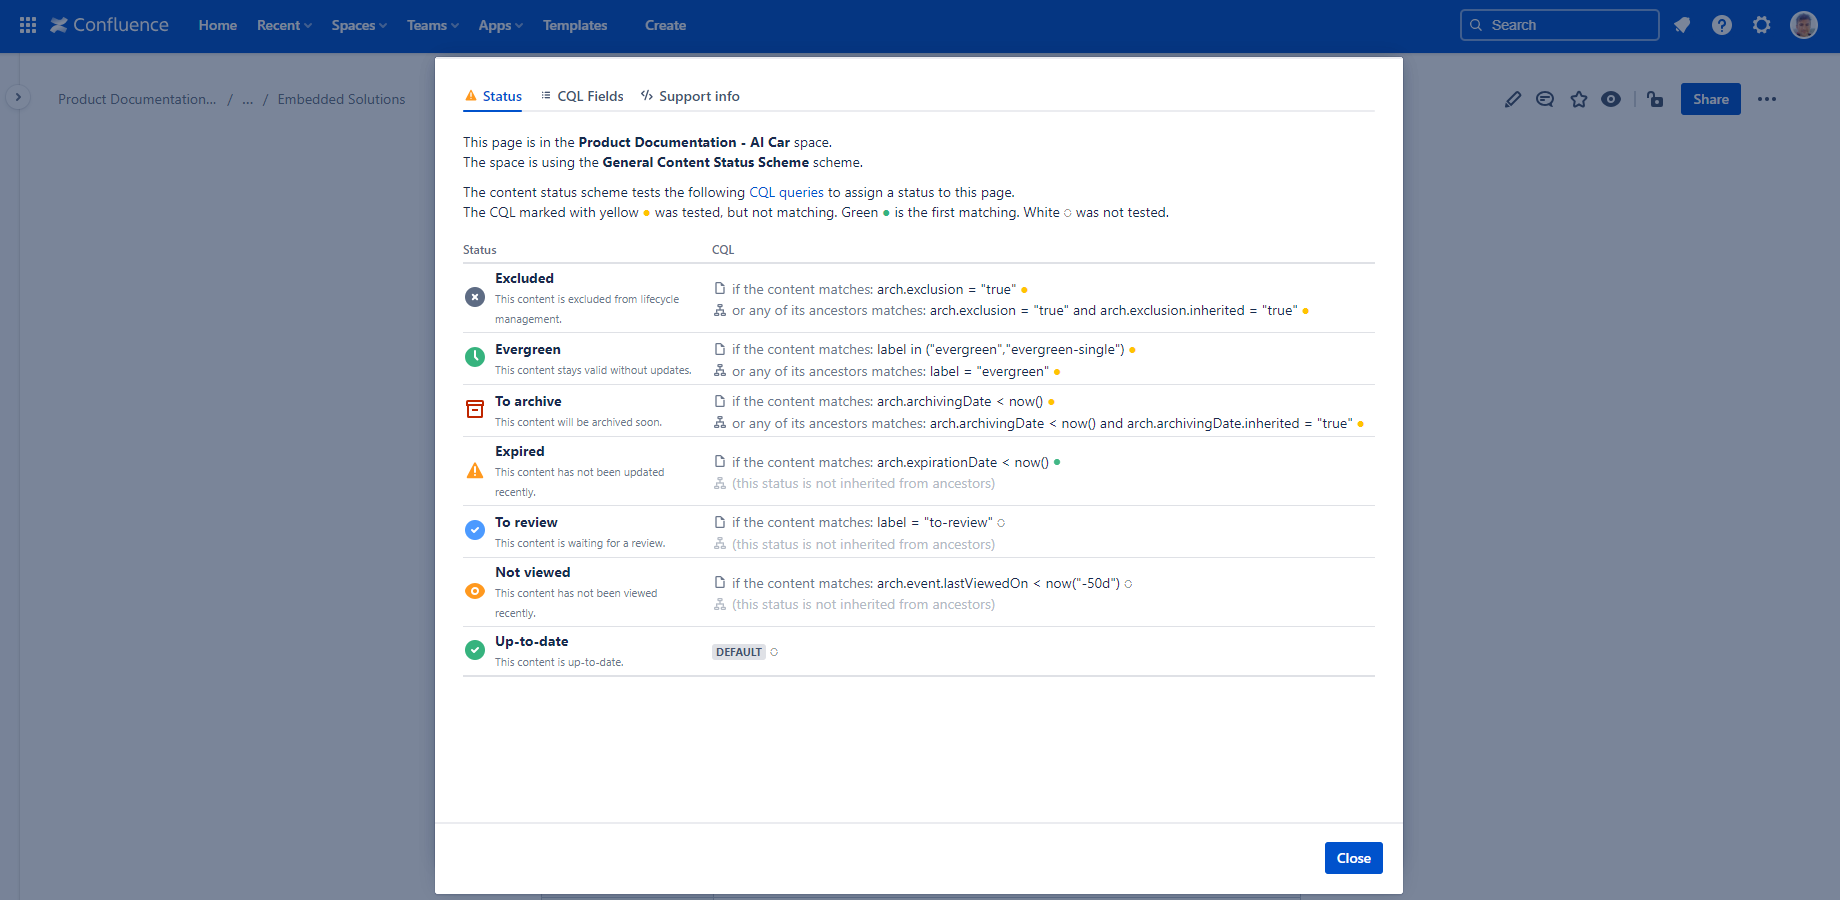
Each status can define one or two CQLs:
- The first one tests for the content itself.
- The second one (optional) tests for the ancestors.
During the status refresh, the content or its ancestors are tested for the CQLs one after another. If there is no match for the CQLs of the first status, then it will be tested with the following status, and so on, until there is a match. If the content or ancestors are not matching for any of the CQLs, the default (last) status will be assigned. Colored dots marks whether the content is matching or not (or not tested at all).
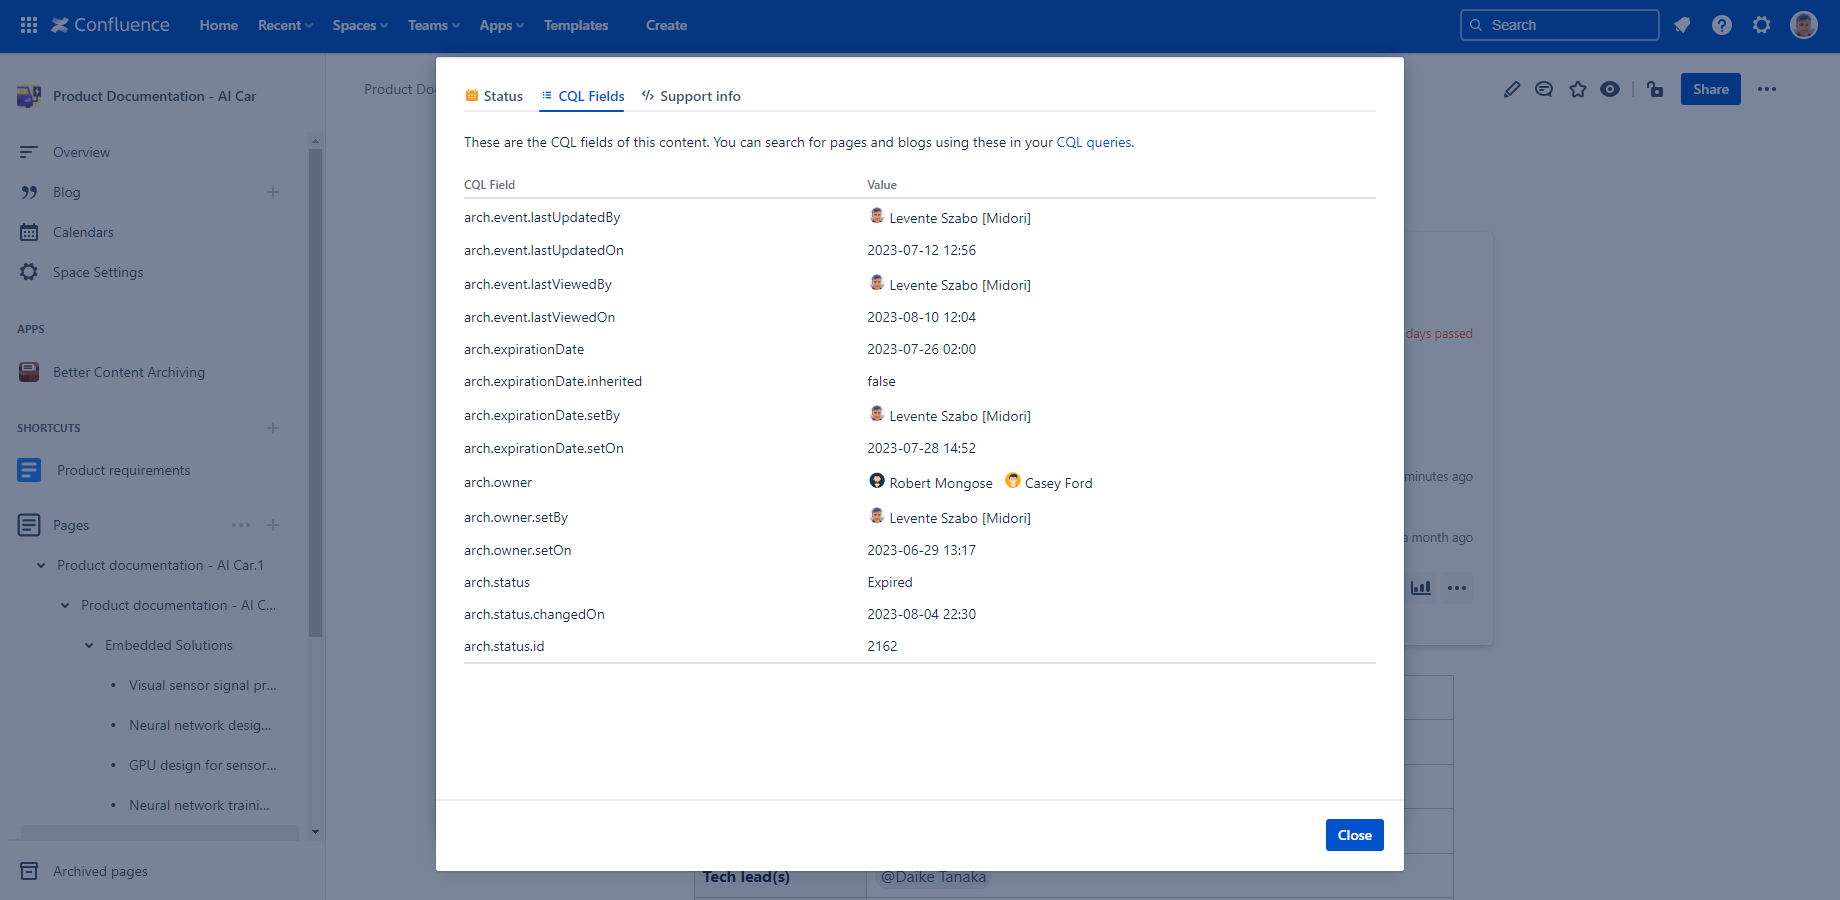
CQL fields tab
All content properties that can be used in CQL queries to filter for the content is listed here. You can find a detailed list of CQL fields that are provided by the Better Content Archiving app.
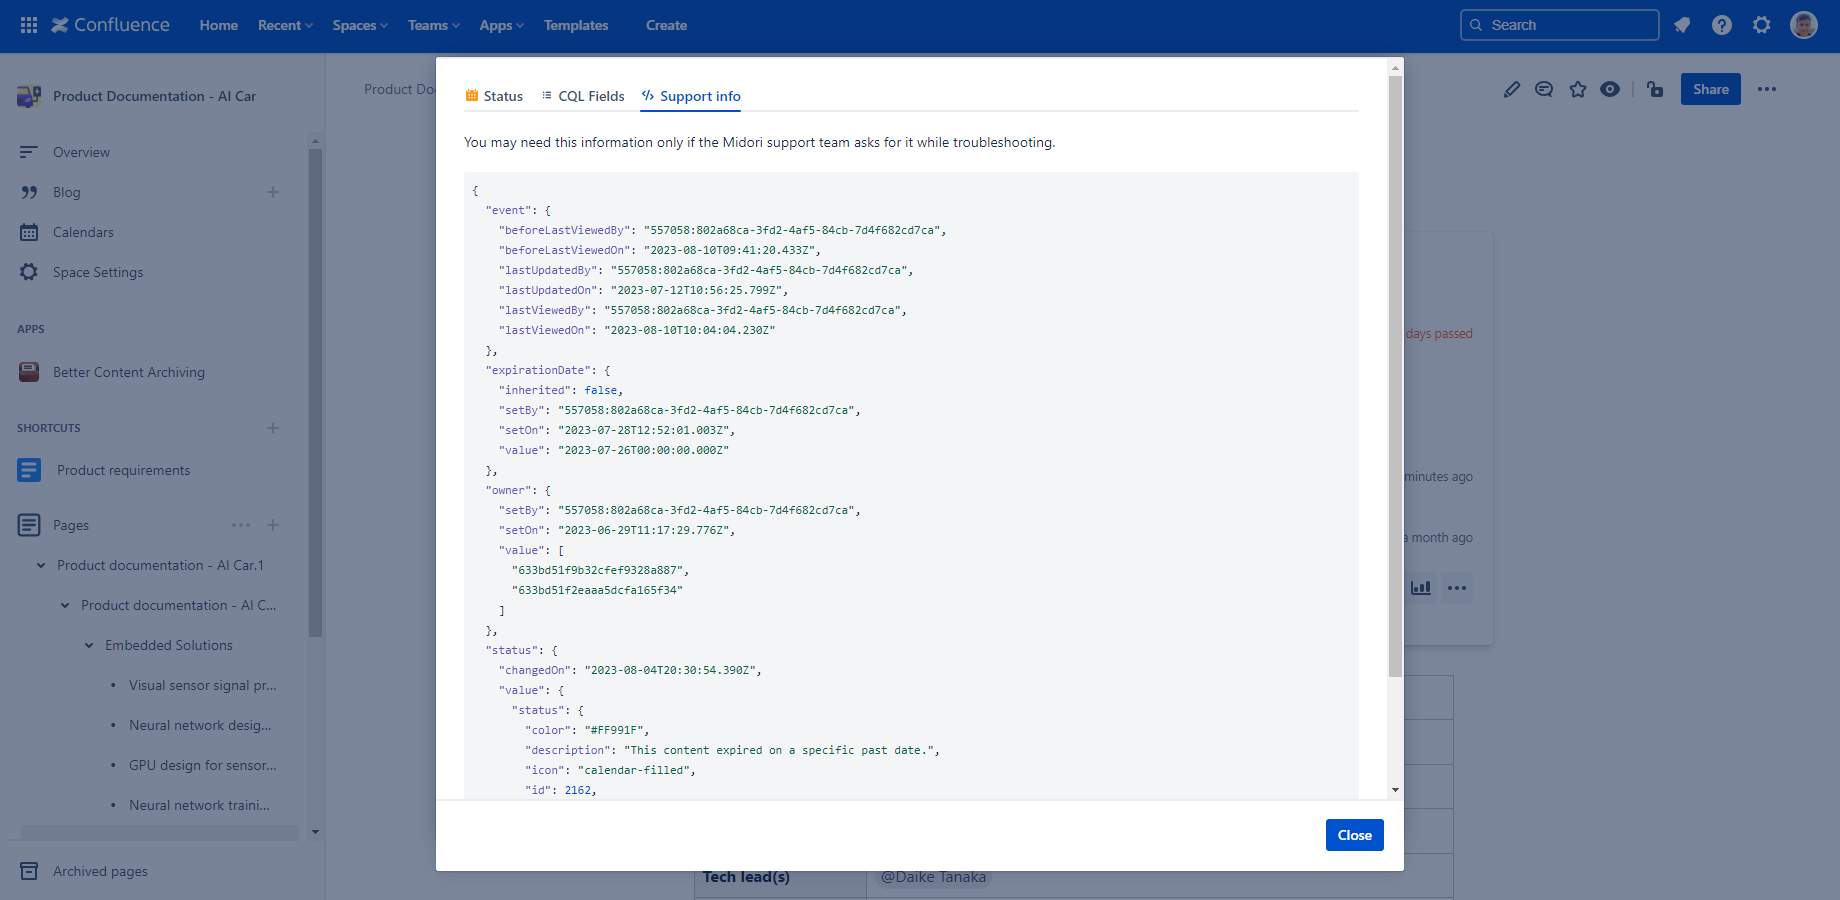
Support info tab
This tab shows the content properties applied to the content in JSON format. You may need this information only if the Midori support team asks for it while troubleshooting.
Questions?
Ask us any time.